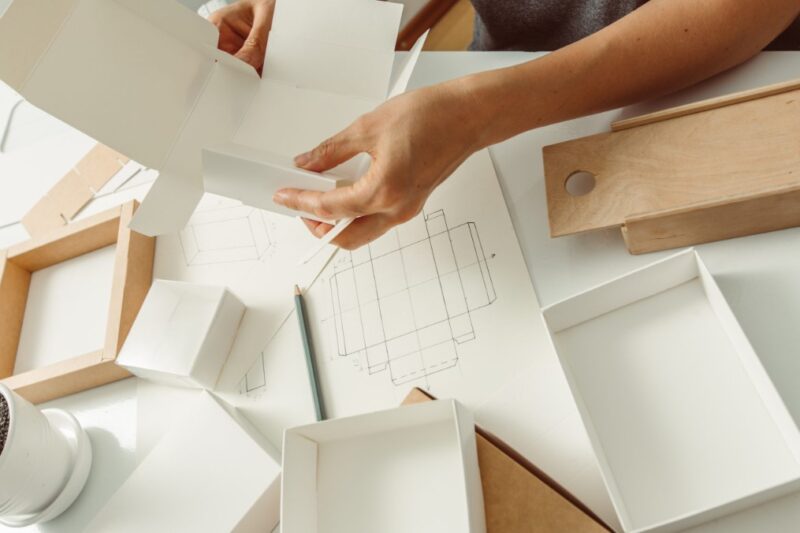
Designing a product sample pack sounds easy until you actually sit down and try to do it. It’s one of those tasks that looks straightforward, just stick a few items in a box, slap on a logo, and ship it out, right?
Nope. A good sample pack is part art, part strategy, and part logistics, all wrapped up in packaging that says, “Hey, our brand knows what it’s doing.” Mess it up, and people won’t just toss the pack; they’ll forget your brand faster than you can say “missed opportunity.”
If you’re here, you’re probably trying to figure out how to make sure your sample pack doesn’t just end up in the recycling bin. I’ve got you covered. Let’s break it down and design a pack that actually leaves a mark, and maybe even gets people talking.
Key Highlights
- A well-designed sample pack shows off your brand’s identity and builds trust.
- You need clear goals to choose what to include and how to present it.
- Packaging should balance aesthetics, practicality, and cost.
- Including small custom items makes your pack more memorable.
- Smart budgeting helps you avoid overspending while still impressing.
- Gathering feedback helps you improve your sample packs over time.
Set a Clear Purpose Before You Start
Here’s where most people trip up: they dive into designing the sample pack without stopping to ask what they want it to achieve. And trust me, “I want people to like my stuff” isn’t specific enough. You need to nail down the why before you start working on the what.
So, ask yourself:
- Is this pack aimed at attracting wholesale buyers who might carry your product?
- Are you trying to get direct customers excited enough to make a purchase?
- Is this for PR or influencer outreach to generate buzz?
Each of these goals calls for a slightly different approach. For example, if your target is wholesale buyers, you’ll want to include technical specs, wholesale price lists, or even a short pitch explaining what makes your product a smart business decision. If it’s for direct consumers, the focus might lean more toward creating a fun unboxing experience that encourages sharing on social media.
The clearer your purpose, the easier everything else becomes, from choosing products to designing packaging.
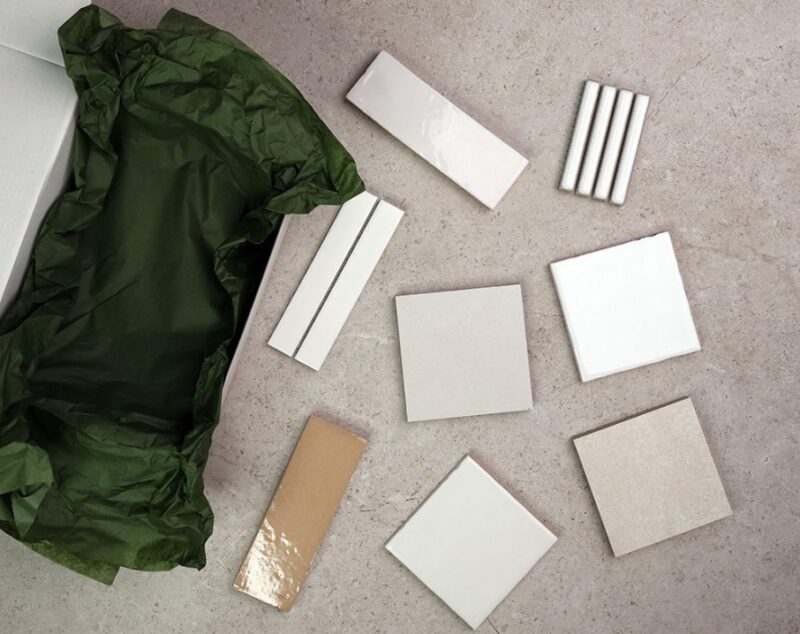
Choosing What Goes in the Pack
This is where the fun begins, and where you can show off the best of what you’ve got. But there’s a trap here, don’t try to cram in every single product you make. A cluttered sample pack is like an overstuffed suitcase: nothing looks good, and it’s a pain to deal with.
Pick items that:
- Represent your core products or best sellers.
- Highlight what makes your brand unique.
- They are practical to ship without risk of damage.
And here’s where you can sneak in something that sets you apart. A small branded gift, like an acrylic keychain, can be a brilliant addition. It’s affordable, customizable, and useful—unlike those random promo items that somehow end up lost at the bottom of a bag. A keychain with your logo or a clever design is something people might actually use, keeping your brand in sight day after day.
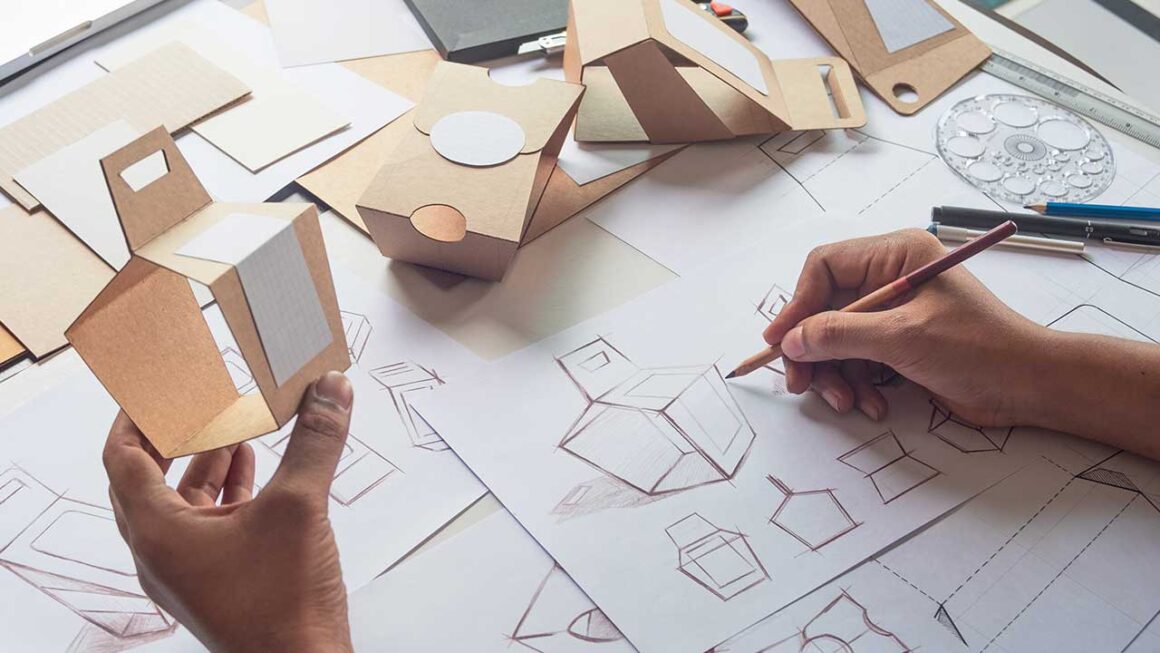
Packaging That Does More Than Look Good
We all know the power of good packaging. It can make a basic product feel premium. But with sample packs, packaging has to work overtime. It’s not just about looking good; it has to:
- Protect your products during shipping (because no one is impressed by a sample that arrives broken).
- Be easy to open (frustrating packaging = bad first impression).
- Fit your brand’s look and feel without blowing the budget.
You don’t need to hire a design agency to get this right. Even a simple kraft box with a custom sticker or stamp can look professional if done thoughtfully. And if you can make it eco-friendly? That’s a win. More and more customers care about sustainability, and showing that you care too builds goodwill.
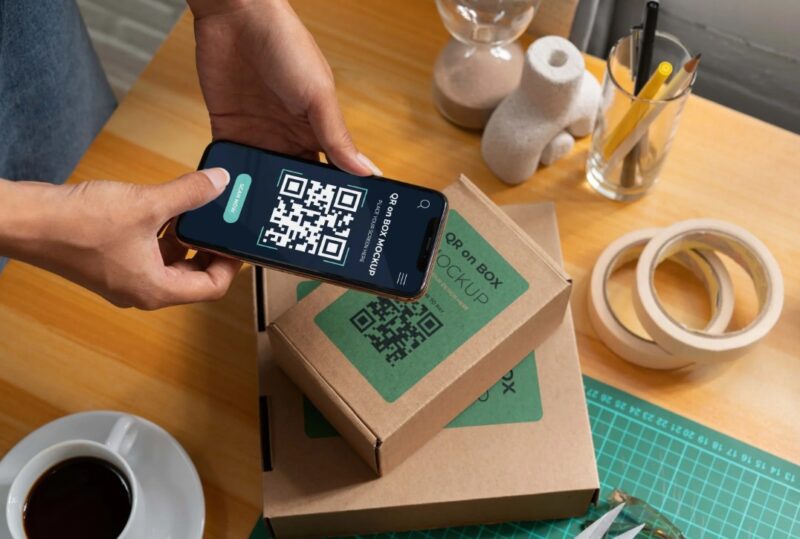
Consider including:
- A branded insert that tells your story or explains how to use the samples.
- A thank-you card. Yes, it sounds small, but that personal touch can make a big difference.
- A QR code linking to your website, a product video, or a special offer.
Keep the Budget in Check
Let’s be honest: it’s easy to get carried away with sample packs. Before you know it, you’re pricing out foil-stamped boxes, velvet liners, and gold-embossed thank-you cards, and your per-pack cost is higher than the value of the actual products inside. Not great.
Here’s the smarter approach:
- Set a firm budget per pack, one that accounts for product, packaging, and shipping.
- Look for small upgrades that feel premium but don’t add much cost. A nicely designed postcard or a branded sticker can go a long way.
- Order packaging supplies in bulk to reduce per-unit cost.
- Go digital where you can. Instead of printing catalogs, use QR codes to send people to a well-designed digital version.
It’s about getting the most bang for your buck, not just throwing money at the problem.
Get Feedback and Refine
You’ve sent out your first round of sample packs. You’re done, right? Not quite. Now’s the time to gather feedback so you can improve.
Reach out to recipients and ask:
- Did the sample pack meet their expectations?
- Was the unboxing experience enjoyable?
- Did anything feel unnecessary or missing?
- What stood out most (for better or worse)?
People are usually happy to give their opinion, and you might be surprised by what you learn. Maybe they loved that acrylic keychain more than you expected. Maybe the insert you thought was brilliant went unread. Use that information to make your next round of sample packs even better.
Final Thoughts
Designing a product sample pack isn’t just about slapping together some freebies and shipping them out. It’s about making a statement. Done right, it tells people what your brand stands for, shows off your products at their best, and builds connections that turn into sales.
So take the time to plan, focus on the details that matter, and don’t overcomplicate it. And if you can make someone smile when they open your pack, even better. That’s how you stand out.